All the work it takes to build a crate for $129
As I mentioned in my last post, I’ve been focusing lately on my record crate collection.
I decided to take a moment to share the step by step process of how I build a crate, and how much hand work is involved. At first glance, it’s tempting to wonder if the crate can be offered at a lower price point in order to make it approachable to even more vinyl collectors. Maybe it’s because I’m a one-person shop, maybe I haven’t optimized my process enough, but below is the current state on how these are made and why they involve so much labor.
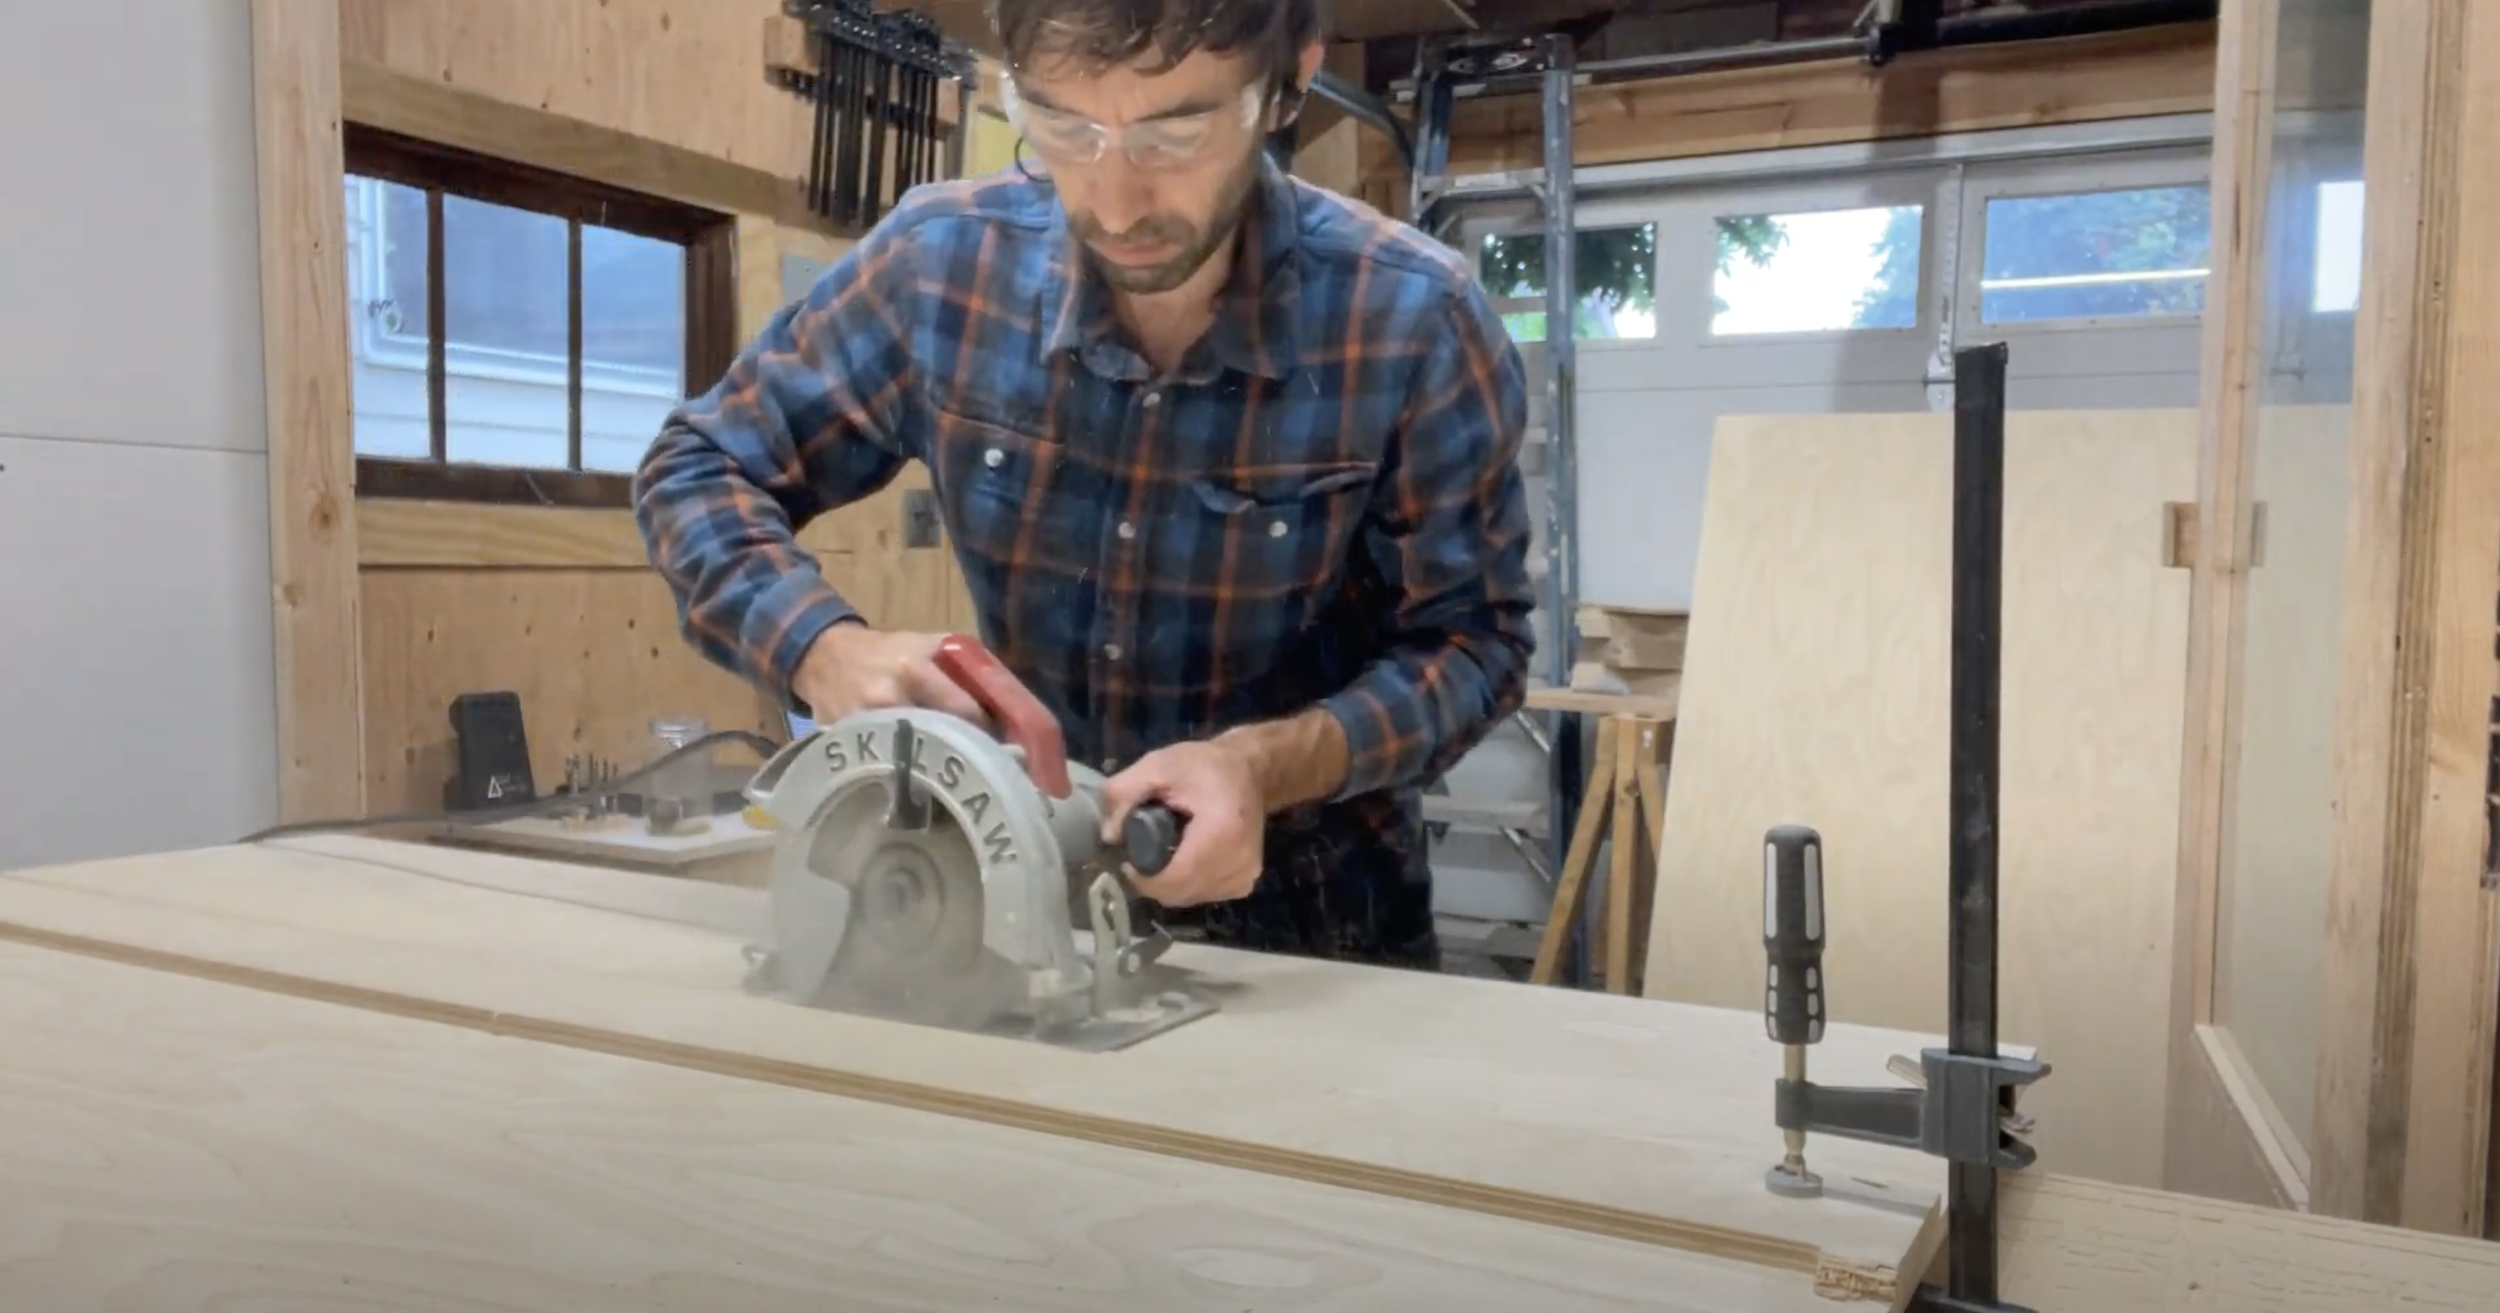
Hand step! I take the awkward 5’x5’ sheet and lay it down, I use a preset measuring stick to mark the width I need. I use a hand circular saw to cut the sheet down to a width that fits on my machine. My machine cuts 4x8 sheets size max. I buy 5’x5’ sheets because they are cheaper per sq foot. Even though I have to do a manual step like this it is still most cost effective to cut it down than to pay the higher price per sq ft.
Machine step! I lay up the sheet on the machine bed and fasten it down. Then the machine goes and cuts all of the features on the main appearance face (the outside). I could go into the actual program steps on how it is cut but I’m not certain my audience is interested enough in that level of detail. I cut the outside first in order to keep the cut features as clean as possible on that face because it’s often easier to keep the top clean than the bottom.
Cutting a sheet of Perfora crate sides. This program takes the longest because it has to mill each one of those holes.
Hand step! Next I use a vibrating saw to cut the pieces from the sheet. At this point they are held down by thin tabs that are quick and easy to cut through. I take the pieces off and set them in a stack. After this I hand sand the outer edges to take the sharp cut edge off. I could do this partially on the CNC if I wanted to, but it doesn’t save that much time and it is pleasant to do it by hand as it only takes a moment for each piece. I use a pencil to mark each piece with an alphabetic character so that I keep the set that was cut together. This is important because each plywood has different wood look and visual texture, and the tone of different sets may not match if they were to be all mixed up.
Machine step! The pieces are flipped over and set on the CNC again, aligned against a straight edge which keeps them square. I run a second program which cuts the slots on the inside which hold the bottom panel in place. I often wait until I have six crates worth of pieces before doing this step so I can do it over and over again and share set up time.
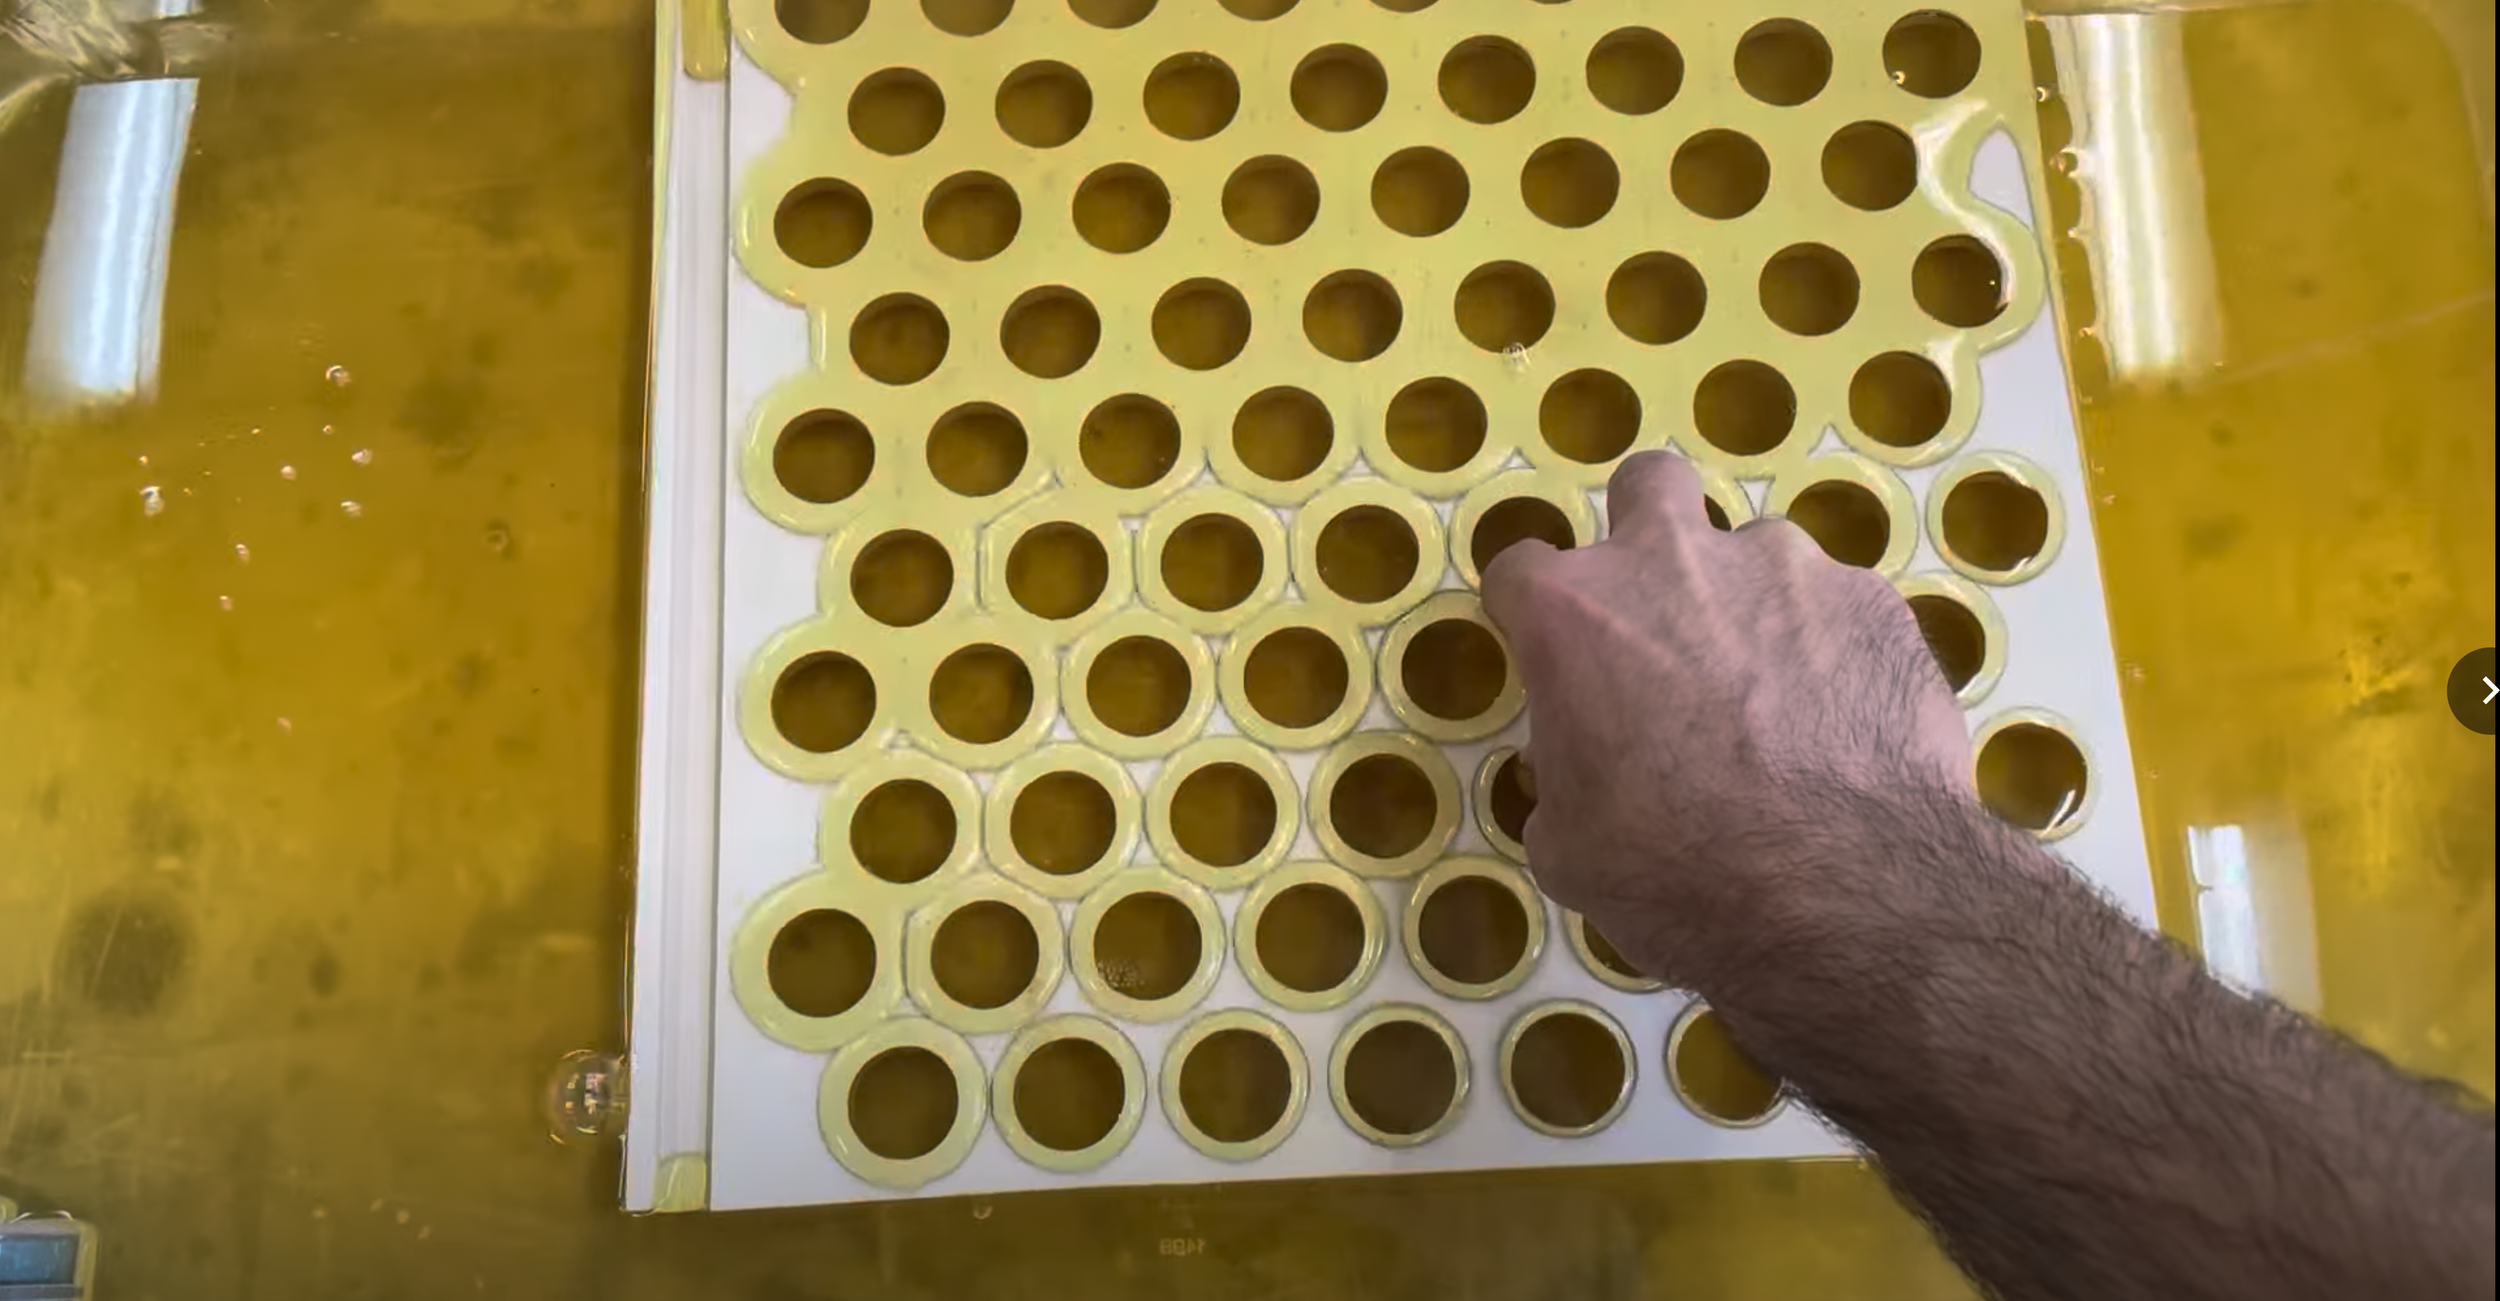
Hand step! It’s time to finish the cut edges. Although the material I use is prefinished, I can’t put the product in a box yet. The edges that were cut don’t look finished and would absorb moisture from the air if they don’t receive something to seal them. I use danish oil, a historic finish from long ago which is made from flax seeds and still used in the furniture industry, although not by most commercial companies. Now it’s only used by small boutique or custom fine builders because it has a longer cure time and doesn’t set as hard a finish as commercial finishes do. I have a square vat of the oil which allows me to set all of the pieces from a crate in at once, then I lift them out onto a drying rack which drains back into a container. By doing this I minimize time and maximize retention of the finish oil after the dip.
Hex sides hanging to dry for a while before they are wiped of the excess
Hand step! After the pieces have drained for a few hours, I take them and set them on a shop towel. I use another towel which is stretched on a hand sized board to wipe all excess oil off the prefinished faces. These faces can’t absorb oil and so it must be removed or it will be sticky later. I wait a few hours, and then do this step a second time. I stack the pieces in a tall stack with spacers for airflow and let them sit for two days.
A pile of record crate sides drying. I let them sit for about two days
Hand step! I take the pieces from the stack, ensure that their alpha characters match, and put a set for a crate in a group together. I consult my list of previous editions and take a white paint pen and mark the edition on the edge. Next I take a box from the flat bundle and assemble it using the prepressed lines on the box to fold in the right places. I add an instruction sheet and count 8 brass screws out and put them in a small envelope that’s stamped with my logo. I place everything in the box and close the lid. Finally a printed product label sticker is fastened to the top and I use a grease pencil to write the date with my initials. Done!
That’s the process. As you can see, it takes a lot of hand work do build these. Although I do use a computer driven cutting machine, the process is far from a automated thing and certainly not something that AI is going to replace. At the time of this post, I offer these at $129 for the less complex models and $139 for the harder to produce Perfora.
Cutting a sheet down so it fits on the CNC
Super Slot pieces waiting to be cut off the machine bed with a oscillating multi tool.
Plunging a Perfora crate side piece into linseed oil. This picture is actually of the old process, now I have a smaller vat that works better.
Wiping some of the excess finish off on a shop towel
Holding a finished Hex crate. This one is actually one model back, now I’ve made a few improvements around the fasteners to make it even better.


